 Welcome! My name is Joe Moretti, Apple Distinguished Educator and professional musician.

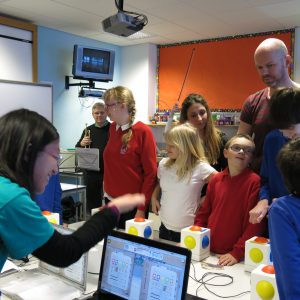
I work with schools all over the world looking to integrate technology, particularly iPad, effectively into their classrooms. In this, and successive blogs, I aim to to take you on a journey to fully explore the potential of the Skoog in your classroom.
I have a keen interest in any technology that has the potential for enhancing education, so naturally discovering the Skoog was something of a revelation.
What is a Skoog?
I hesitate to label the Skoog as just a musical instrument as it is so much more than that. The original Skoog was conceived in this way; as a musical instrument for creative music making.
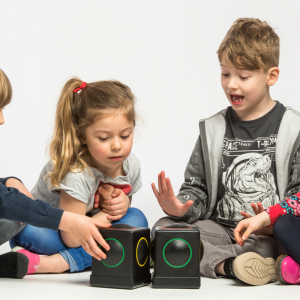
The Skoog is a black, rubber cube with coloured circles on five sides, set inside a plastic base. It is extremely tactile, responding to being squeezed in different ways. The awesome part is that depending on how you squeeze and push the Skoog, the sound from your iPad changes accordingly. Yes! The Skoog is very responsive and capable of expressive music making, sounds are not just on and off.
The creative possibilities were buzzing around in my head very early on: from controlling the volume of a massive synth sound, controlling how quickly it grows louder (or softer), to manipulating the expressive tones of a string or brass instrument.
The immediate potential of the Skoog for classroom music making is obvious and very exciting.
The exploration and playing of an extensive range of timbres and dynamics are now at students’ fingertips with literally no barriers such as acquiring instrument technique getting in the way.
For this first blog I thought it would be useful to step through my initial experiences and thoughts in terms of setting up a Skoog and making music straight away.
Let’s get stuck in
Getting the Skoog out of its box I put it on charge via its mini USB cable and set about downloading the Skoog app. As an Apple educator I already have GarageBand installed and look forward to seeing how these three elements worked together, particularly as GarageBand has a very impressive set of instruments to work with. (I’ll be covering using the Skoog with GarageBand in the second blog article).
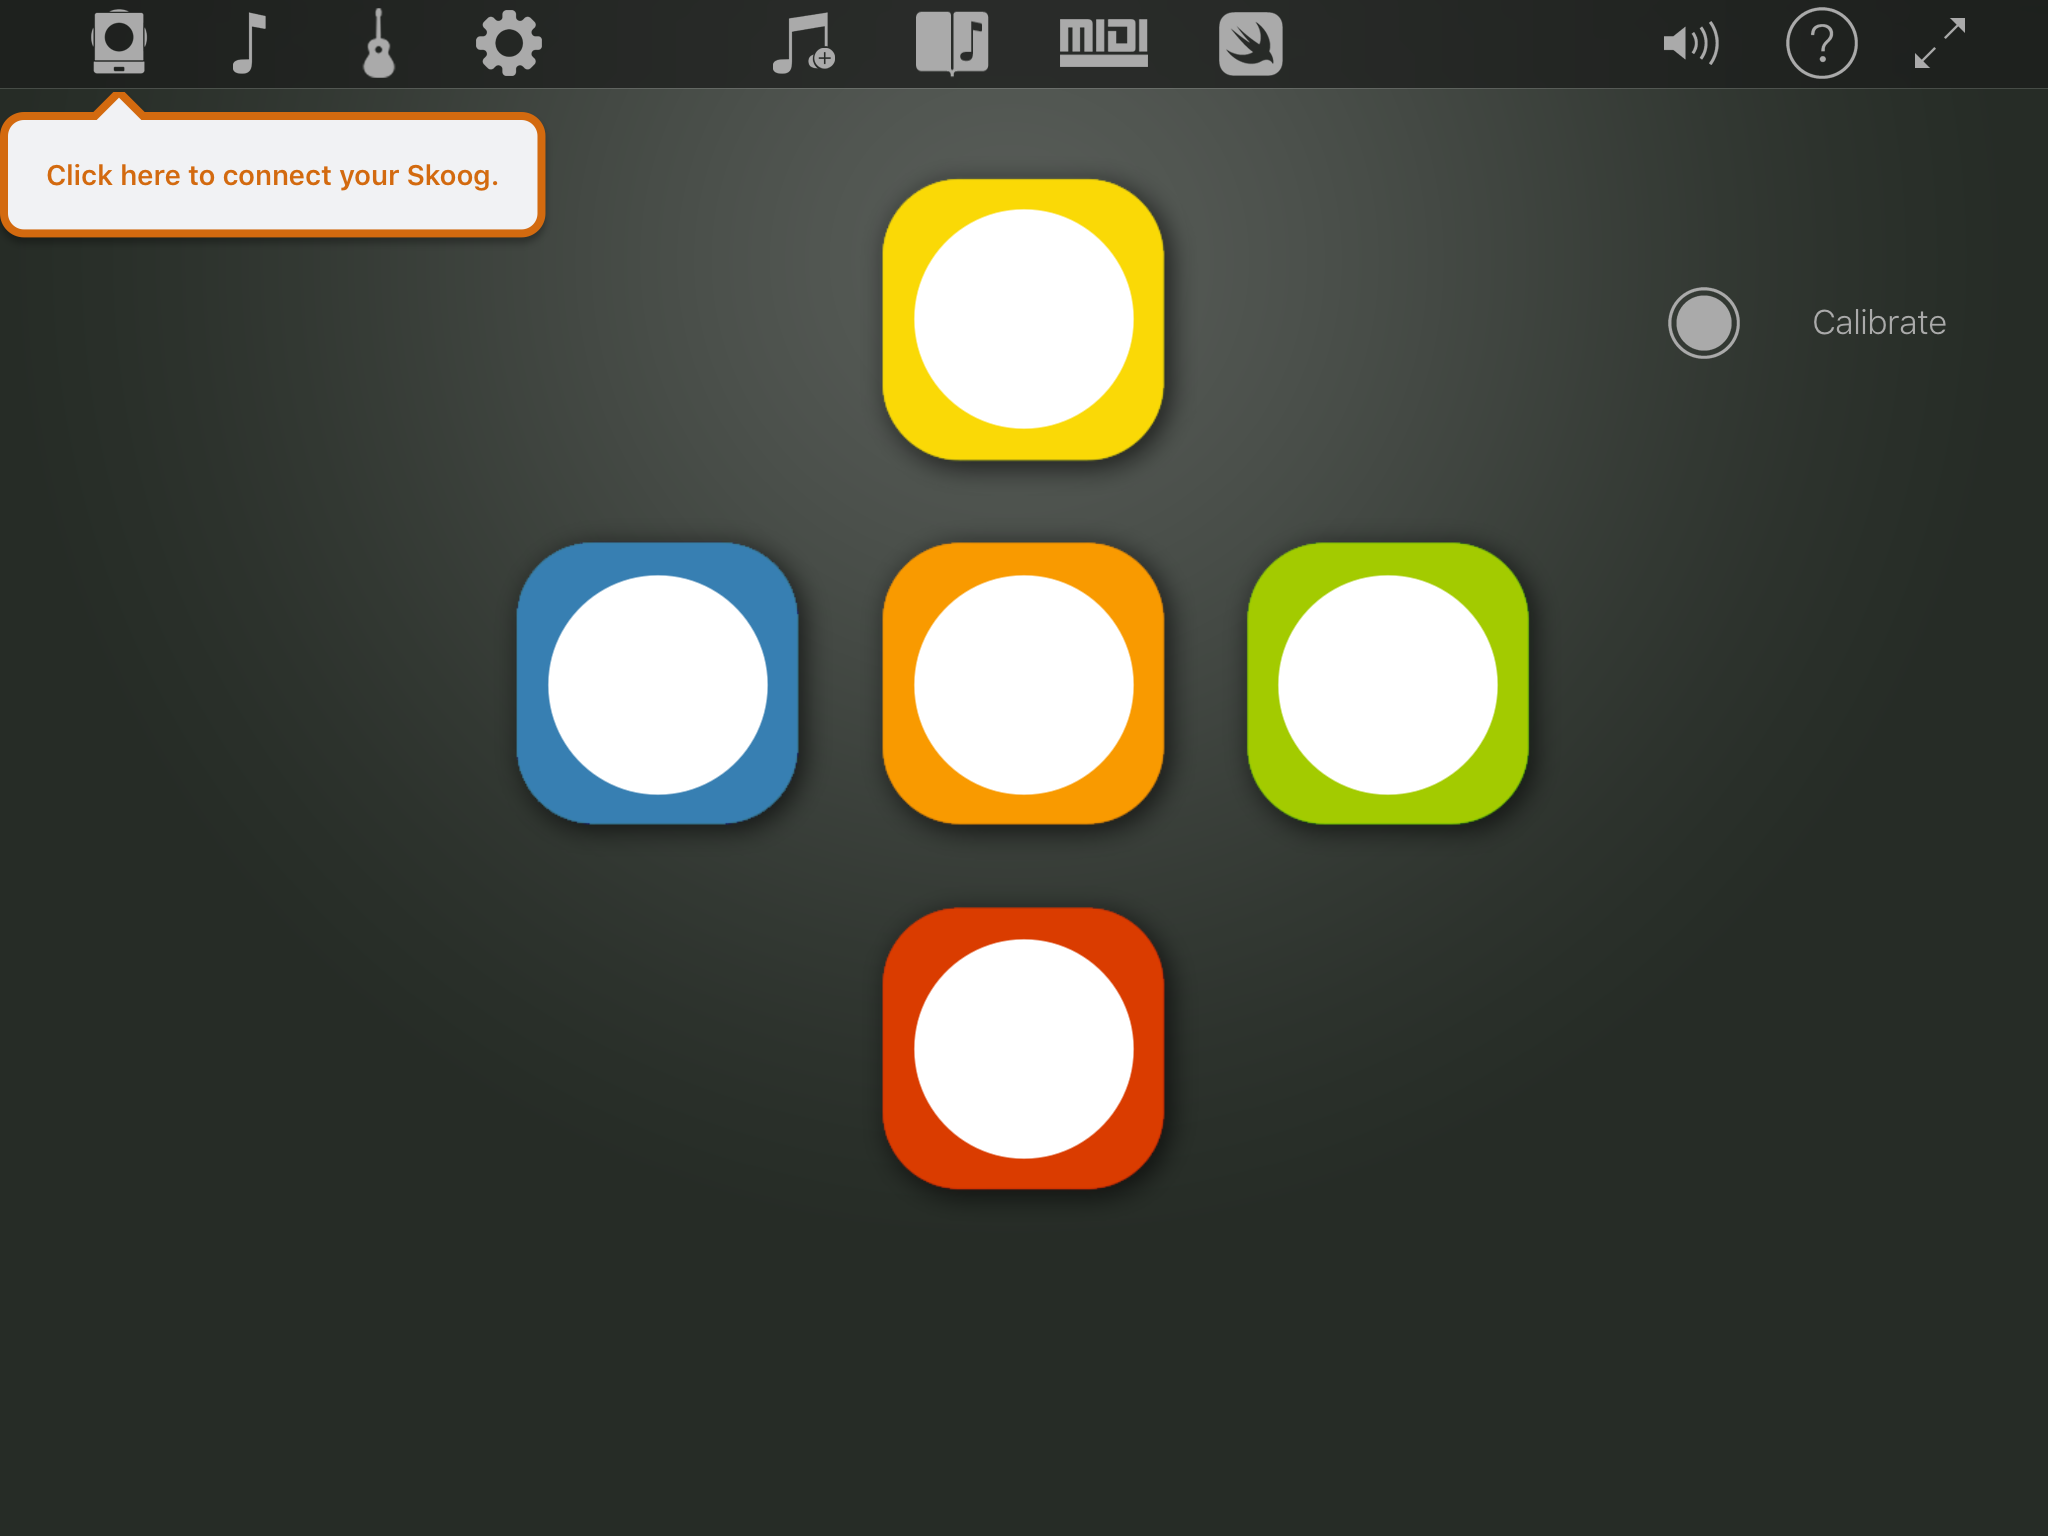
Opening the Skoog app for the first time I was struck by how clearly laid out everything is.
I tend to explain icons as I encounter them and the screenshot below shows the prompt that opened, encouraging me to connect my Skoog. Simply press on the Skoog icon
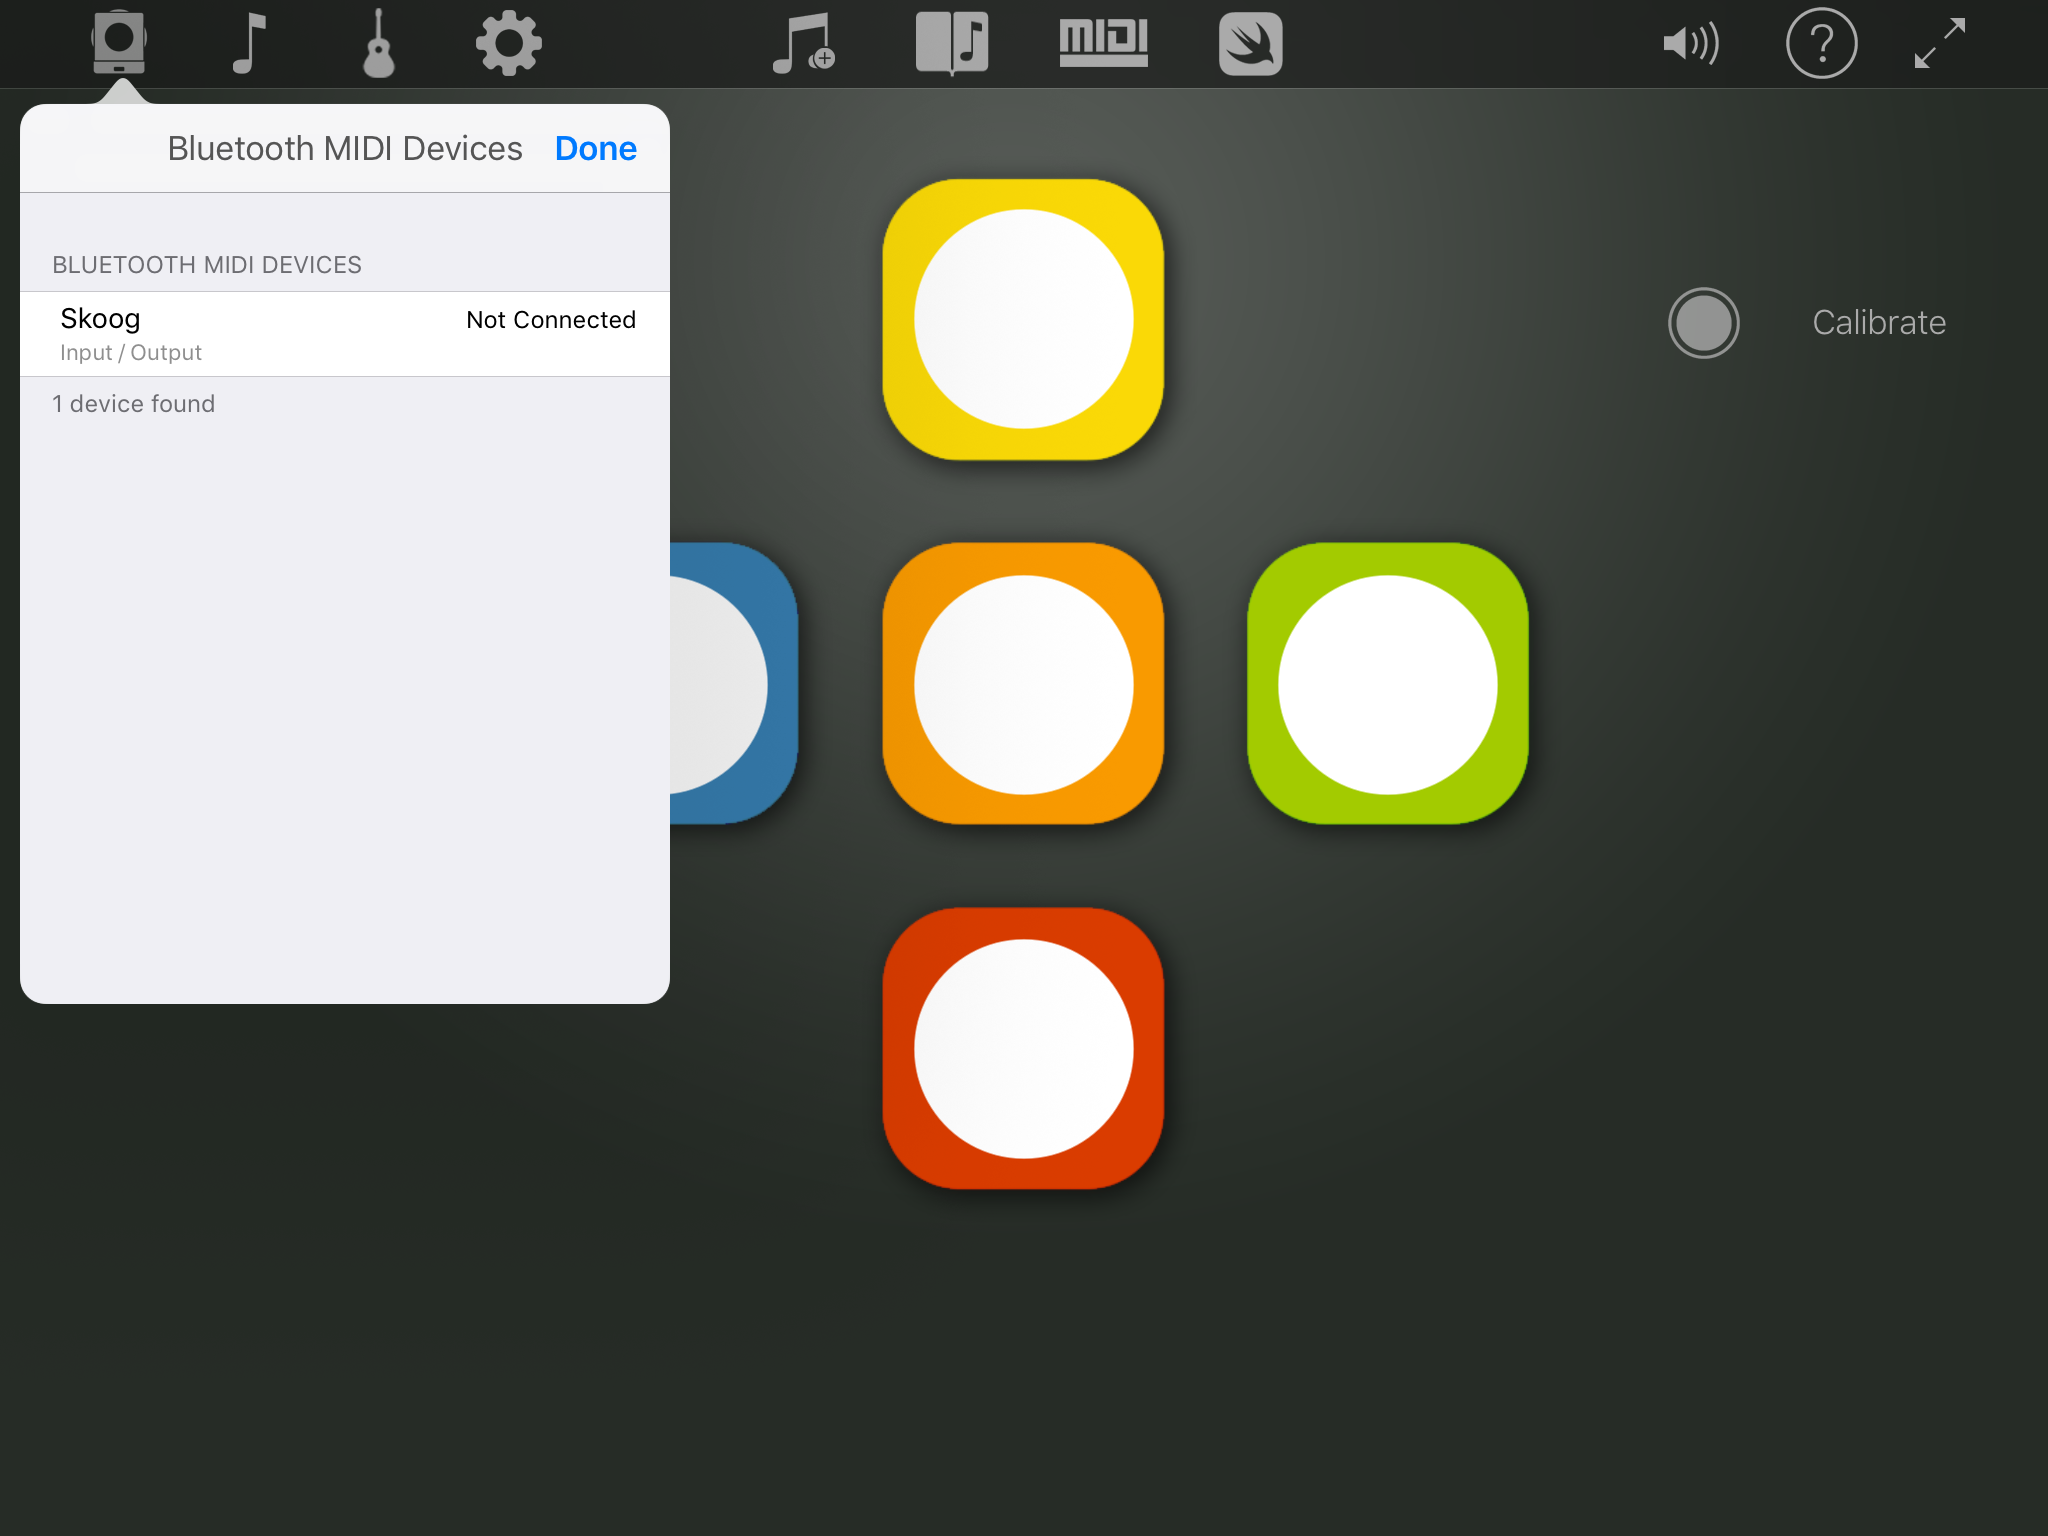
Press the button on the bottom of your Skoog once to switch it on and a second time to enter BlueTooth pairing mode. Back in the Skoog app my Skoog was now listed, a quick tap to select it and then accept the pairing request that opens up. As easy as that!
Once paired a quick tap or squeeze on one of Skoog’s sides causes a resonant synth tone to emanate from your iPad, (make sure you turn up your iPad’s volume), you’re now ready to make music. As I pressed a side I experimented with different presses, press and hold, pressing and holding and flexing the side in and out quickly and was pleased to experience a vibrato type response.
I think this is a key element to enjoying music making. Skoog encourages you to interact with it, seeing how it reacts and the changes that result musically from this.

How about choosing a different sound? Tapping on the guitar icon you can select from
Classic Synth
Modulus
Ice
Moon Synth
Dubstep Bass
Karplus String
Flute
Breathe Bass
Dubstep is my current favourite, an evocative voice style timbre reminiscent of Isao Tomita recordings and very receptive to changes of pressure on each pad. Experimenting with the sound I wanted to change the notes assigned to the sides. Tap on the quaver icon next to the Skoog icon, select notes from the menu that opens and your five pitches are displayed. Tap and rotate on these to select the notes desired for each side – all colour coded of course. That’s all pretty cool isn’t it?
My Skoog set up with my iPad, playing sound and changing the available pitches in just a few minutes, and for the classroom this is a key point. I tend to find that reliable, intuitive technology is the one you’ll keep coming back to, time and again.
Next time in part 2 I’ll share how easily I was able to add GarageBand to my sonic library and access the amazing range of sounds on offer there. Stay tuned.
Happy music making
Learn more about Skoog and GarageBand by signing up to this free Skoog and GarageBand webinar, all about unleashing your creativity.