 Welcome! My name is Joe Moretti, Apple Distinguished Educator and professional musician. I aim to to take you on a journey to fully explore the potential of the Skoog in your classroom.
Welcome to the second in my blog series on the Skoog. I left off last time with the Skoog app connected to my iPad. As I mentioned we’ll go straight from there to connecting to GarageBand to access the range of sounds available in Apple’s free music application. We’ll be looking at the Skoog app in more detail in a later blog piece, however many schools are using GarageBand and I was itching to try the two together, not least that GarageBand would also allow me to create a multi-track composition (more on that next month).
With GarageBand installed on your iPad its a very straightforward process to connect the two apps together.
 In the Skoog app tap on the MIDI icon, top middle of the screen. There are two choices here. First select MIDI On/Off and switch the slider to on, then deselect the slider for Audio On/Off. These settings are shown in the first screenshot below. This patches the MIDI data generated from the Skoog through to other applications and the Skoog essentially becomes a MIDI controller. Secondly, it turns off the audio in the Skoog app so that no sound is generated there.
Open GarageBand, select a sound and play your Skoog! Easy. As mentioned in the previous blog, I like apps and technology that are easy to set up and use. There isn’t time in the classroom to spend configuring devices that don’t work first time. For those a little cautious with setting up technology I’ve created a short YouTube clip to accompany this month’s blog piece and I demonstrate this connection process in the clip.
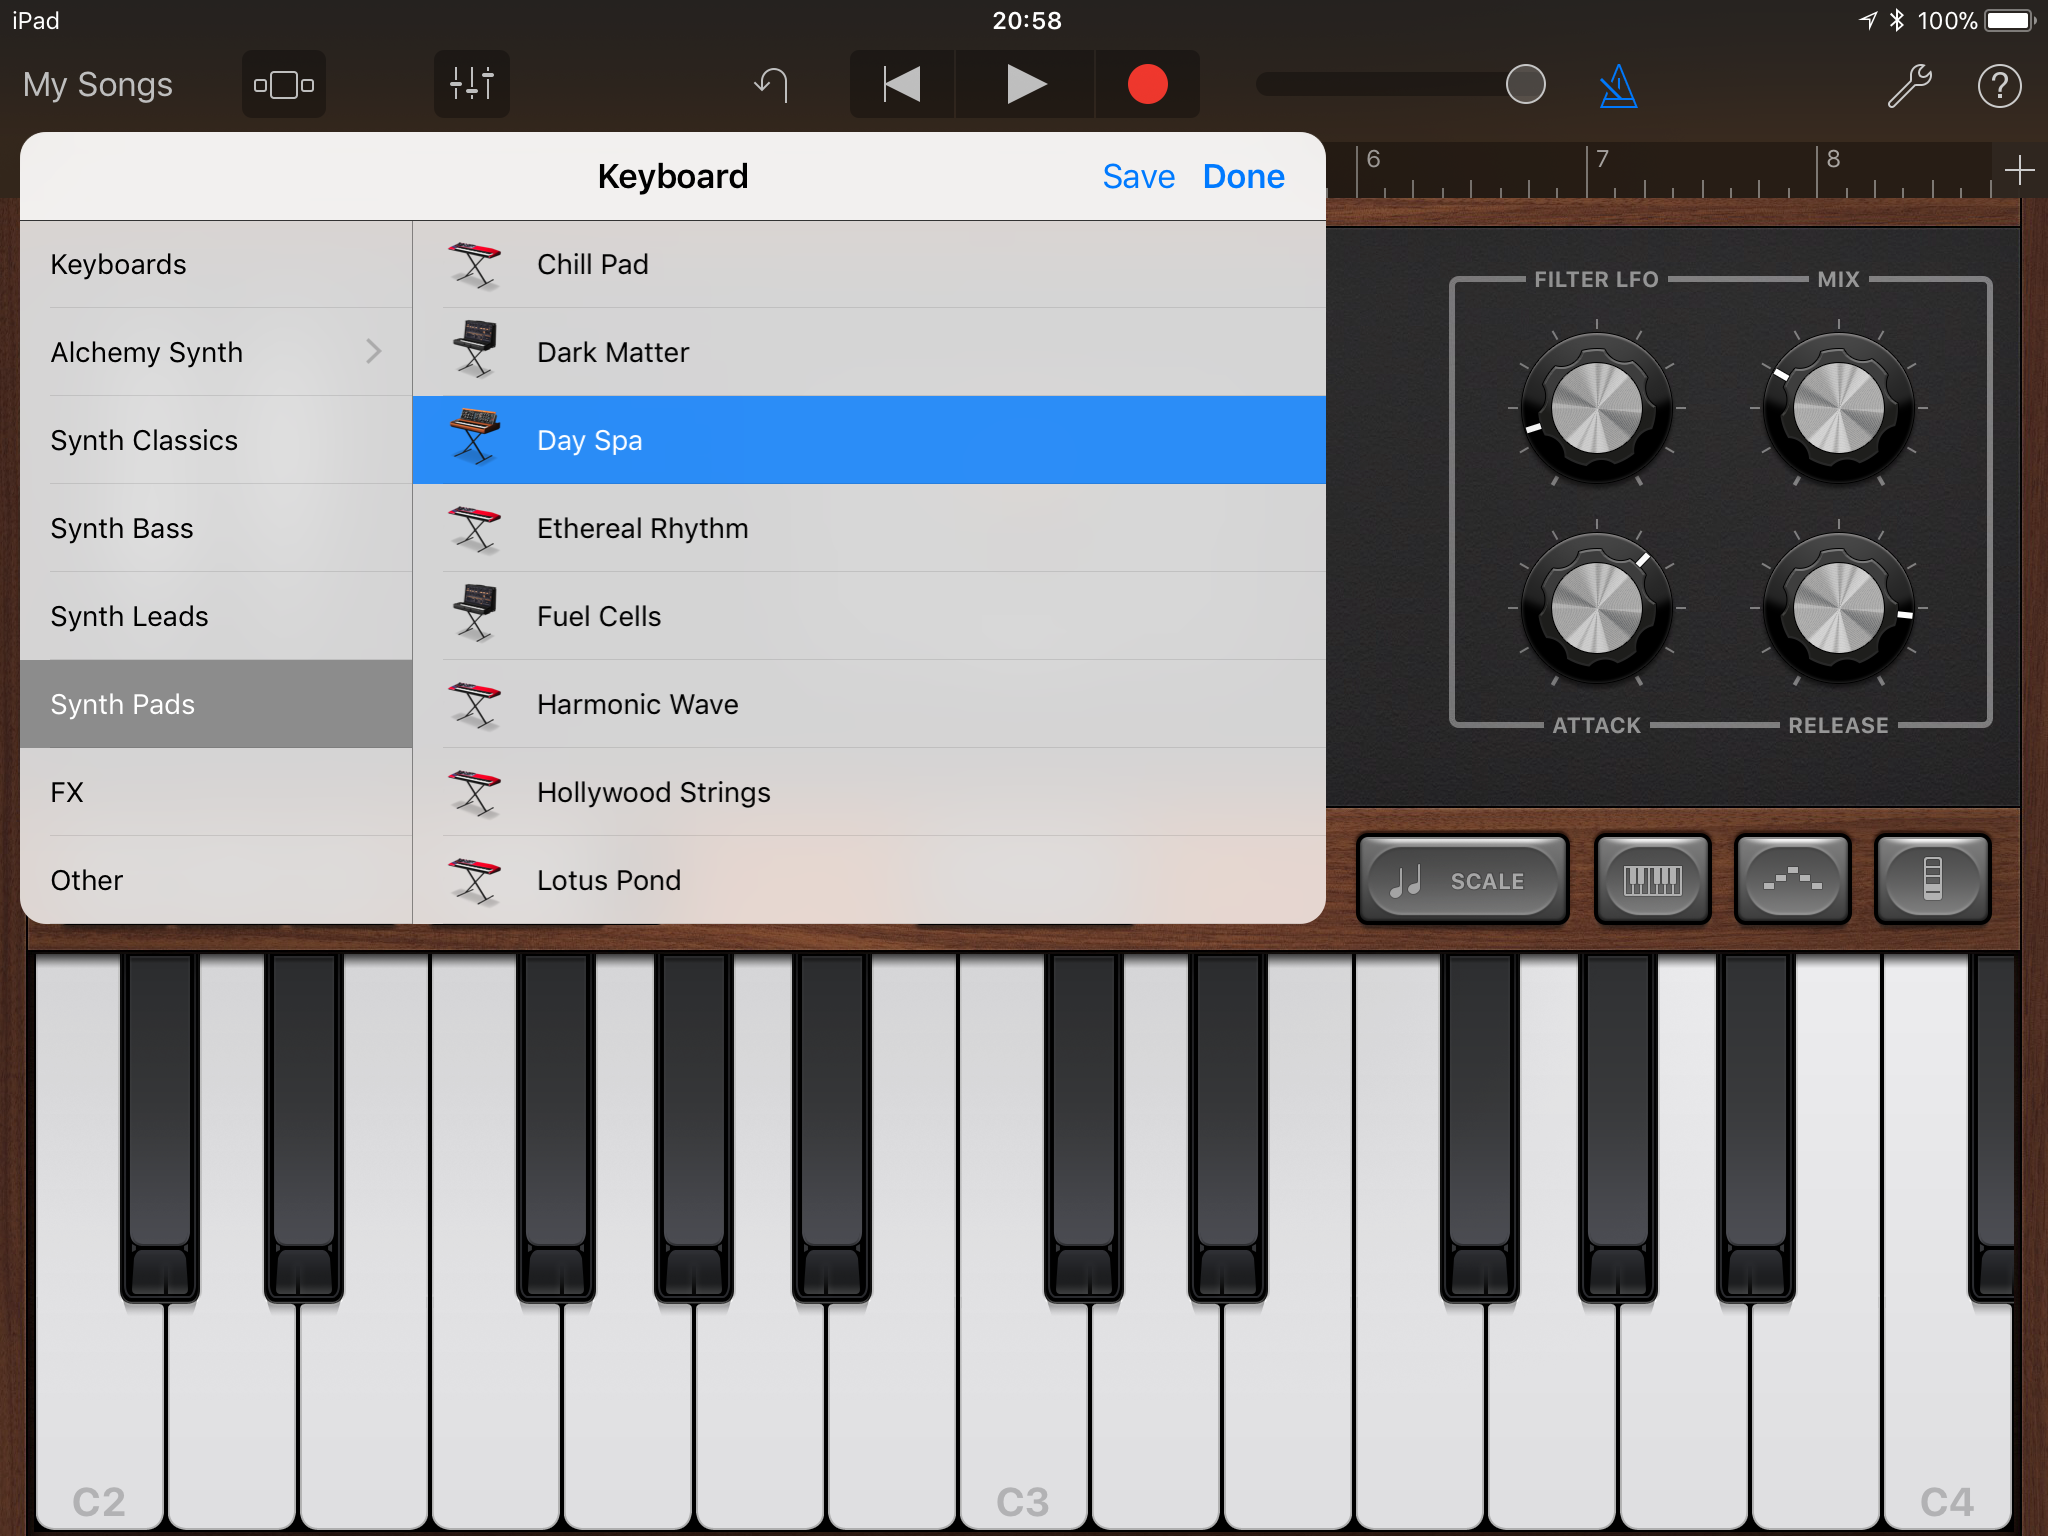 In GarageBand I initially experimented with evocative synth pads, such as Day Spa . I find the synths in GarageBand work very well with the Skoog. A little experimentation in the the filter section (top right in the synth panel) will yield great results. You should also try moving these while recording – it all gets recorded in the latest version of GarageBand and can lead to some really expressive music making.
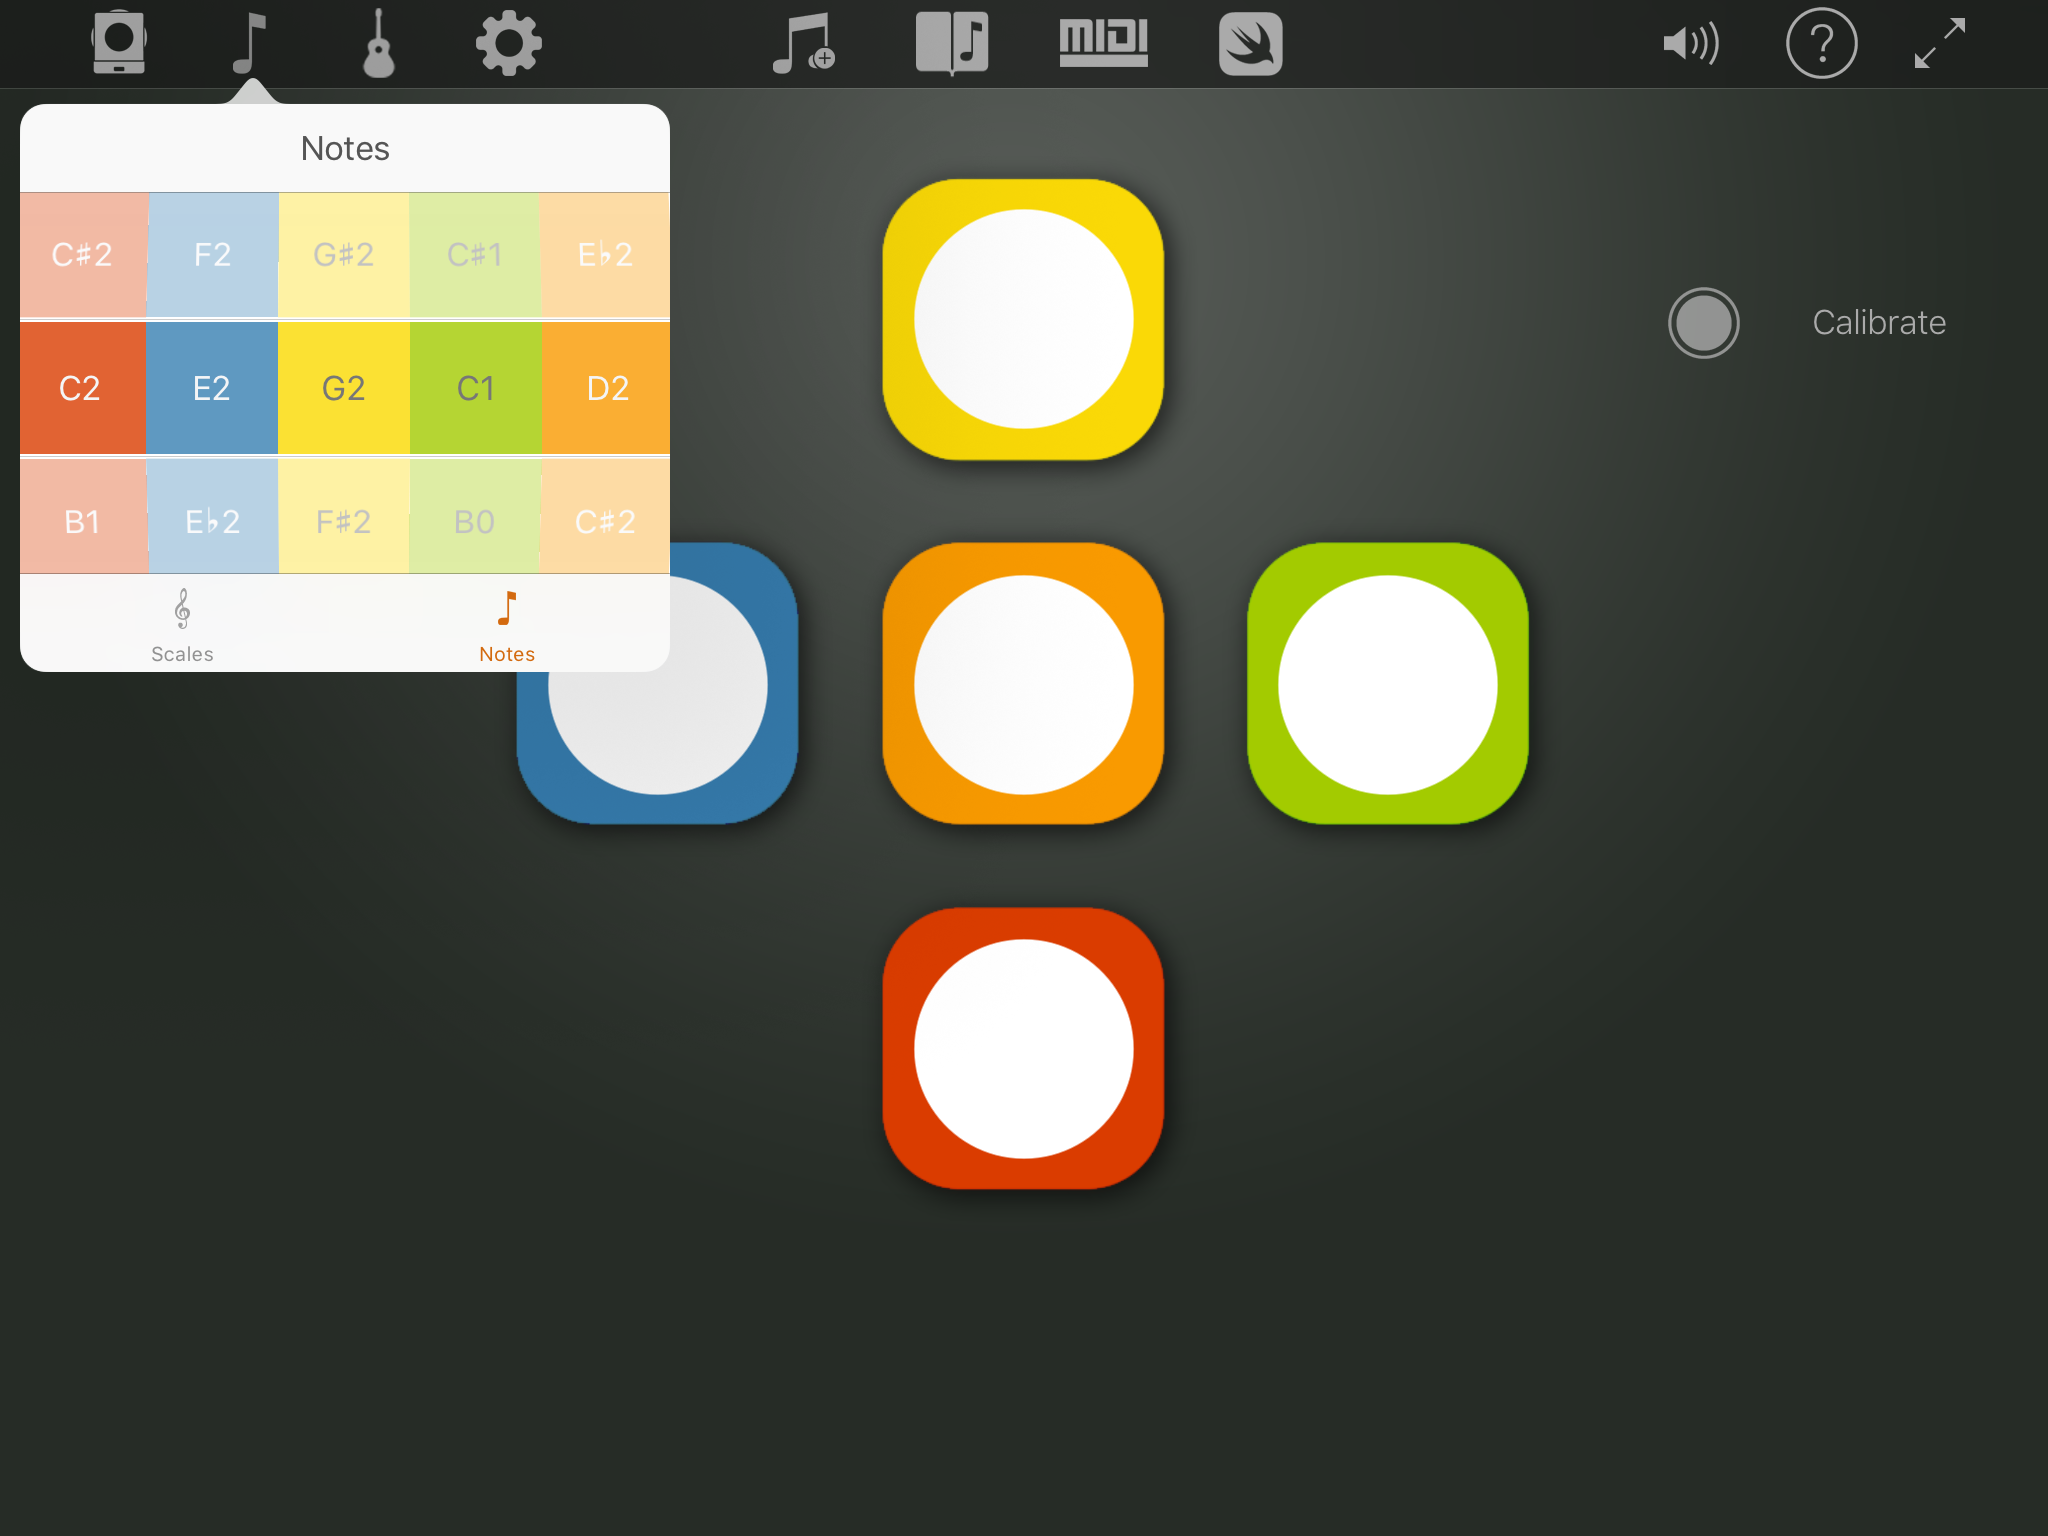 Moving to some of the Bass patches such as New Wave, its very easy to drop back into the Skoog app and change the pitches sent from the Skoog. The third screen shot shows how I I took each note for each side down by at least an octave. As you deselect the notes menu the pitch selected for each side is briefly shown as a reminder of the settings you’ve chosen. Back in GarageBand with the New Wave patch selected, I was really impressed with the responsiveness of the combination of Skoog and GarageBand together. I had selected a low C for the red side and a C an octave lower for the green side. As you press harder on each side the filter opens slowly in a really satisfying and expressive way. You can hear this in the YouTube clip. The Skoog provides your students with an expressive instrument where the timbre of a sound changes in response to pressure.
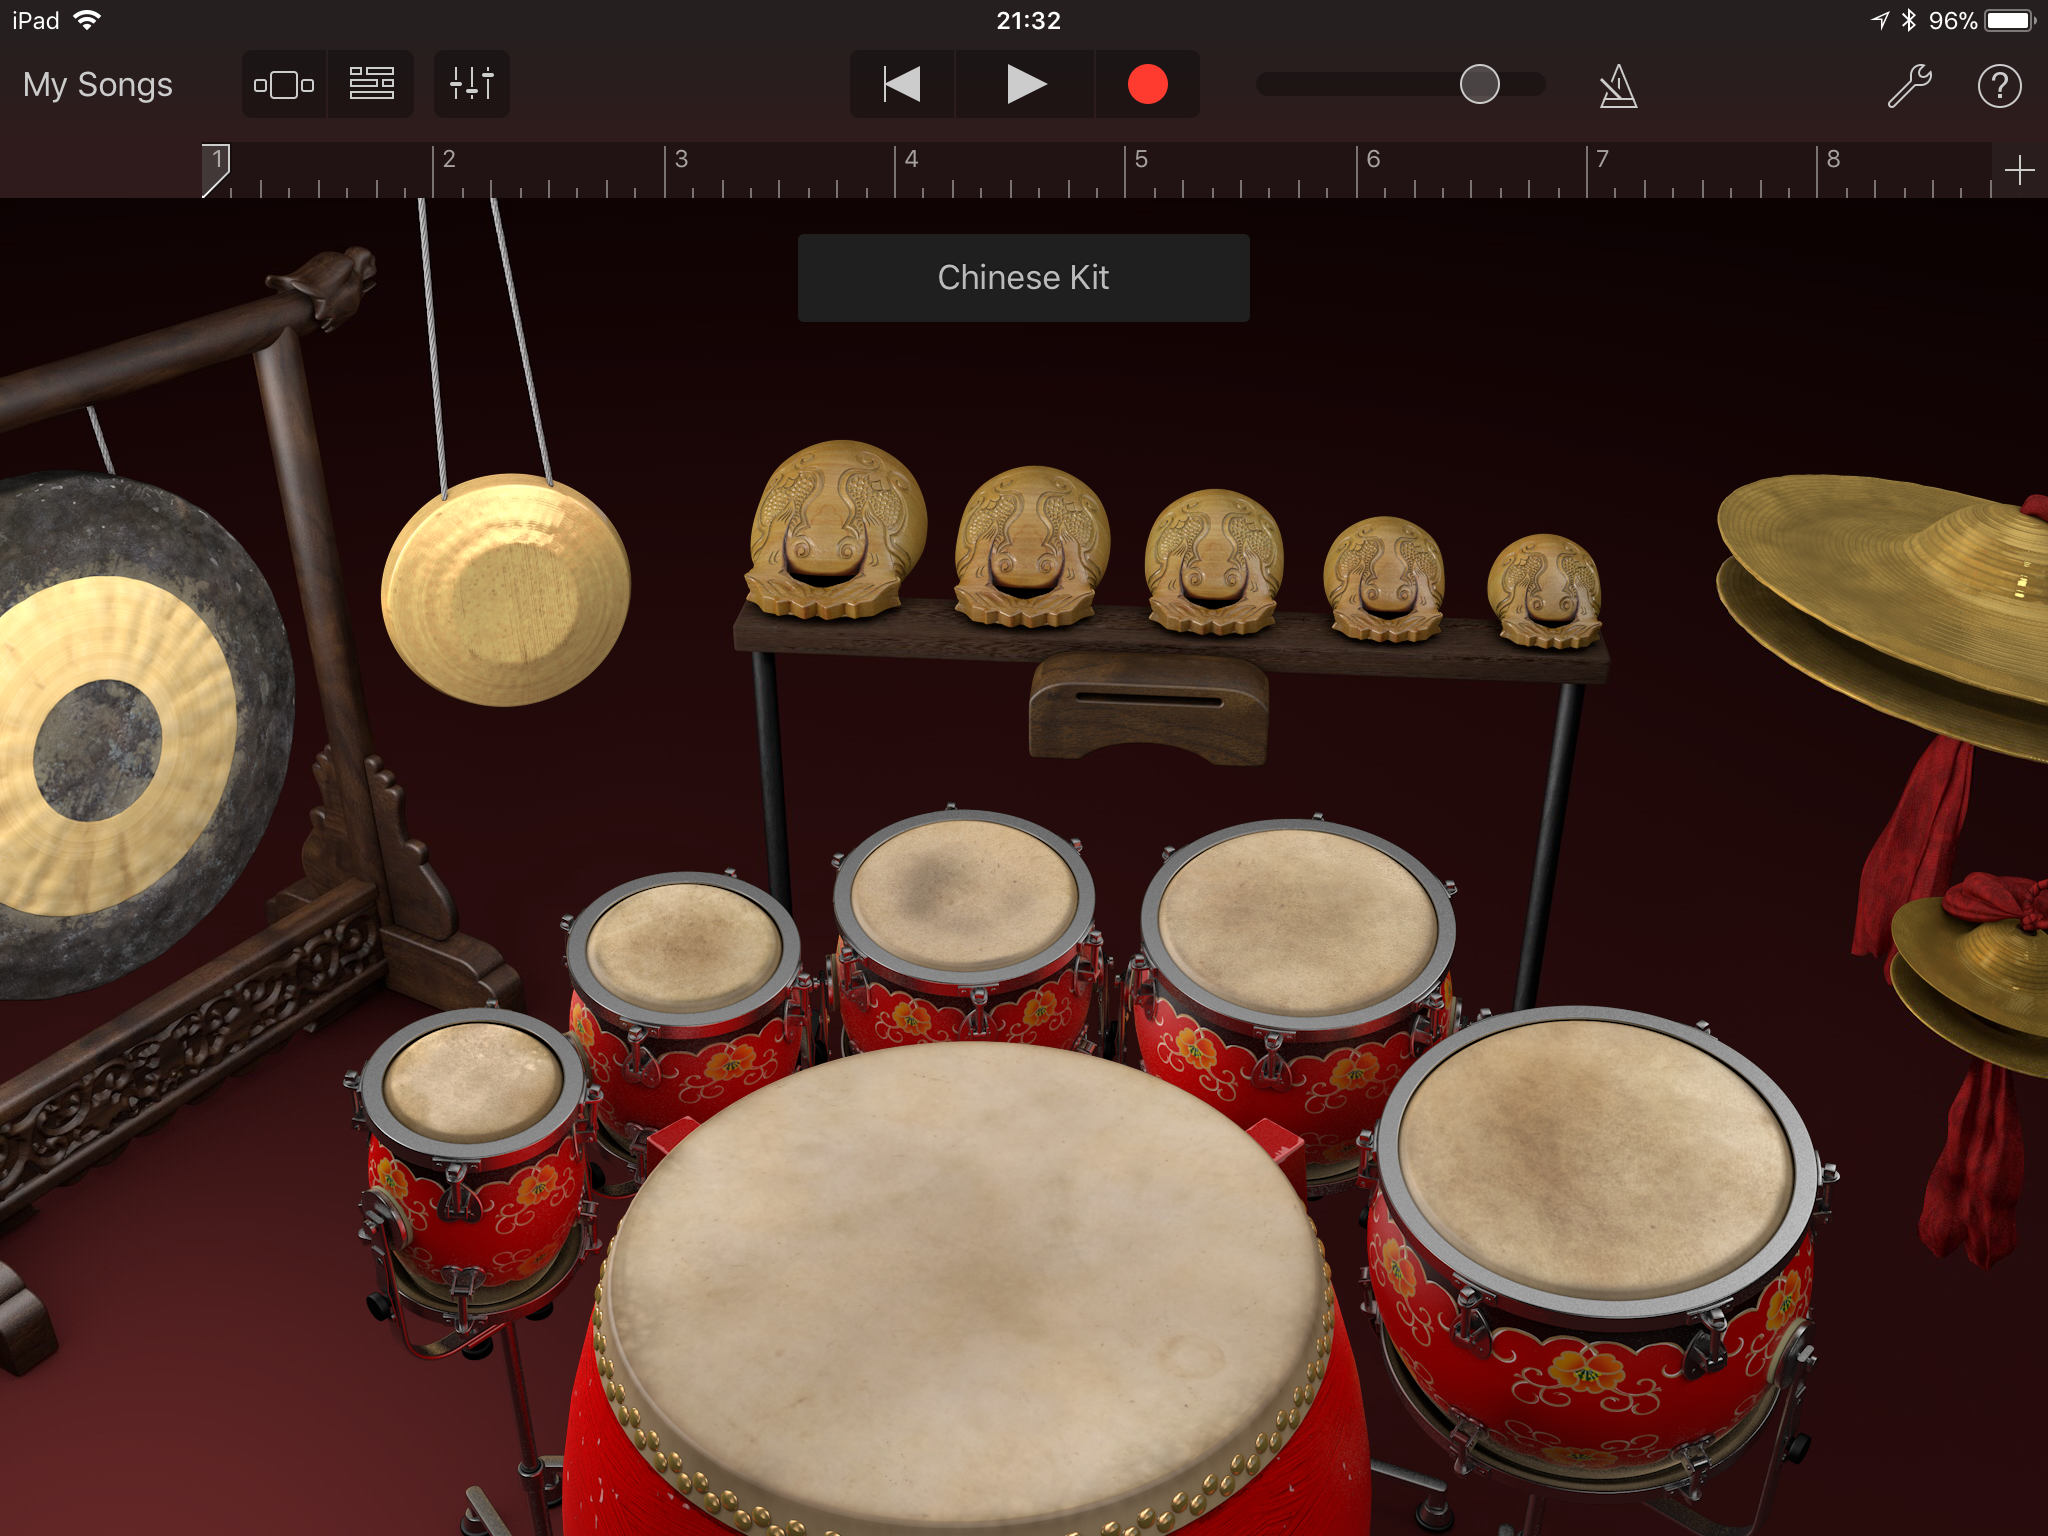
To finish off I experimented with drum sounds and some world percussion instruments. GarageBand has an abundance of kits and percussion and I was really pleased that I was able to play rhythmic parts from the Skoog. Top tip: GarageBand’s percussion kits the sounds are all set at the low end of the keyboard (octave 1) so you need to set the Skoog octave /notes to 1.
In the next instalment I go through recording a multi-track performance played on the Skoog, recorded in GarageBand. Stay tuned.
Until then, happy music making!
Want to experience Skoog for yourself? Book yourself into a completely free Skoog field trip at your local Apple store and be introduced to how to make music with iOS & Skoog!
FREE WEBINAR
LEARN MORE ABOUT SKOOG AND GARAGEBAND BY SIGNING UP TO THIS FREE SKOOG AND GARAGEBAND WEBINAR, ALL ABOUT UNLEASHING YOUR CREATIVITY.